Fluid Art is an aesthetic, abstract trend that has taken the world of art by storm. And we know what is it which makes it so popular amongst the members of the art community. The ease of practicing this art and the beautiful marbling effect which emerges from the play of paints adds to the appeal of Fluid art.

However, we also know for a fact that one needs a certain finesse to bring out the best of this art form. Podium School understands that all art forms are equal in their expressiveness. Therefore, we do not consider Fluid Art or Acrylic Pour Painting any less and would love to be your guide on this journey. With this promise, we bring to you a one-stop guide to everything you want to know about Fluid Art! In case you’d like to jump to a specific section, use the article index below.
Step-by-Step Process for Fluid Art
Preparing the Paints
With basic acrylics, try to go beyond water and mix it with a pouring medium. The pouring medium will help you achieve the smooth glaze-like texture, just mix it with thick acrylics and stir vigorously to get paint for pouring. You can also experiment with glue, silicon, or oils like coconut- but do it at your own risk, since what you mix your paints with has a direct impact on how long will it last.

To know more about the ratio and consistency of homemade pouring paints, refer to this lesson! Also, don’t forget to watch the video below to understand the pouring medium and how does it work. You can buy one of these pouring mediums if you want to begin!
Pouring the Paint
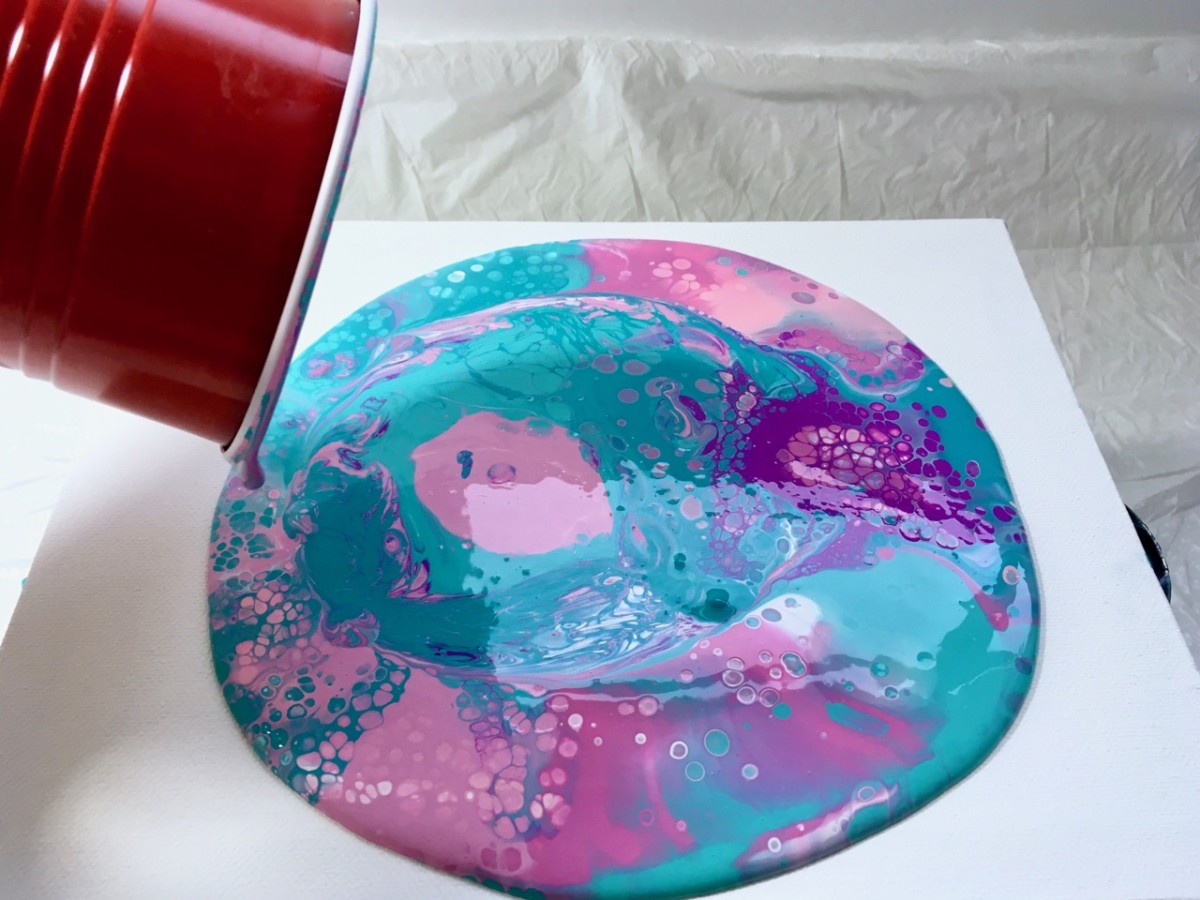
There is no one way to go about pouring, but a few words of good advice will help you master this technique easily. Use the plastic, paper, or thermocol cup we told you about. Begin pouring the paints from the side of the cup and into it. This is to prevent the bubbles from forming.

You can pour the paints directly on the canvas, one by one to form different layers. Begin with one color and then pour the second one on top of it.
Another method is to pour the paints into the cup in layers (because we never use only one color for pour painting) and cover it with the white side of your canvas board. Then turn this set-up upside down. Wait for a while to let the paints do their job and then slowly, lift the upturned cup. Skip to the next section to know about these techniques!
Manipulating the Paint to form Fluid Art Patterns
Now here’s the fun part. After you’re done pouring, don’t let the paint sit- move it around a little so that the paints cover every bit of your canvas. Although we’d love to experiment, what we don’t like is a negative white space peeking out from those beautiful colors.

Move around the canvas by hand and get a little messy. However, wear some protective gloves before doing this and spread some newspaper to prevent your table from becoming a fluid art disaster. Artists also use hair dryers to move the paint around- but here’s the trick, do it in a way that you’re able to form some artistic patterns and not just blow all the colors away from the canvas. We don’t want to burn them with the direct heat from the dryer. Therefore, you are advised to use these tools with caution. Otherwise, stick to manipulating the fluid paints by hand if you’re a total beginner.

Let it Dry!
For the best results, we advise you to give ample time for the painting to dry. If you don’t want to stain the surfaces with wet paint, mount your painting on a heavy cup with newspapers around. Fluid Art can take up to 24-72 hours to dry and 7-14 days to cure. Patience is the key to fluid art- be it the beginning, the process, or the end. Giving it ample time to dry will bring out the best in your creation!

Fluid Art Techniques
The best part of fluid painting comes with moving and manipulating paints once we lay them on the canvas. However, a more nuanced piece would be the one where you can differentiate the colors and see their different layers and the patterns they form. Read on to discover the best techniques with which you can make scintillating fluid art pieces!
Clean Pour
The most basic technique of pour painting is the clean pour or the basic pour. We use this technique when we have to create clean and sharp lines from the viscous paint. Take one color at a time and pour it on the canvas. Don’t use the colors all at once. While the colors are wet, you can move them around with a toothpick to create swirls and lines. Refer to the video below to understand more!
Dirty Pour
Contrary to the clean pour, the dirty pour is when you pour the paints all at once on the canvas. One of the most common pouring techniques, we mix the color and medium first and then put the viscous pigments one on top of the other in a cup. After that, we pour the contents of the cup on the canvas to create a layered pattern.
Tree Swirl
The initial steps will be like the dirty pour technique. But, after you layer the paints, you need to pinch the edge of the paper cup to form a triangular spout or a beak. Then, pour the paint from the beak point on the cup in a circular motion. Once you are done pouring, manipulate the poured paint in a circular formation so that the impression is of rings. This type of pouring is best done on circular boards and canvas.

Dutch Pour
This technique is essentially a dirty pour, but with a blowtorch. Using a blowtorch to manipulate paints will help you create various shapes like flowers, birds, or even random splatters of paint that look extremely artistic. However, be careful with blowtorches. Some torch flames also use butane or propane, so make sure you are not leaving the flame unattended. If you’re a young artist, make sure there is a responsible adult who can guide you on how to use the torch without burning yourself. Observe this slow-blow pouring technique below. You may buy the specific torch used in the video, here.
Swipe Technique
Swiping technique is pretty easy. Follow all the steps of the dirty pour, and when your canvas is covered with colors, take a blunt tool and start swiping from the smallest edge. Try to do it in one clean movement, otherwise, you will end up with breaks and clumps of color. For more guidance, you can refer to this swipe technique tutorial.

Creating Cells with Silicone
If you want to go a level above the regular swirls and curves of fluid art, you can experiment with liquid silicone when you’re pouring the paint and creating cells. Cells are created when you use additives like oil or floetrol and mix them in a small amount with viscous paints. However, if you’re out of silicone, you can simply blow your paints around to create cells. Or, use a small butane torch! You can also use a hairdryer to create random cells!

What Are The Other Components of Fluid Art?
This is an elementary question about the topic which relates directly to the materials we need for fluid art. As we just discussed, fluid art heavily depends on phenomena like density and viscosity. Also, it is important that one creates different layers with paints when pouring them. Simply splattering paints on canvas does not summarise fluid painting.
Fluid Art is a beautiful bond between science and art. In the words of Roberto Zenit himself, fluid art can help understand and even explain the formation of nebulas in space. This is because the Rayleigh-Taylor instability is common in both. Other important components which determine a fabulous fluid art piece are knowledge of color theory, speed, and space.
Colour Theory
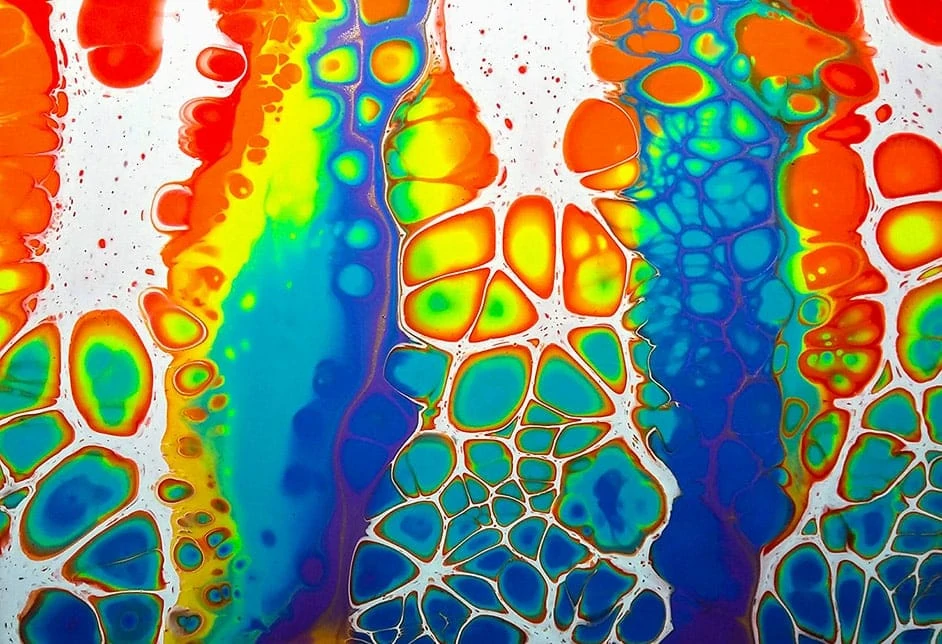
An attractive and striking pour painting piece results from the right colors. You might be a little confused about which colour scheme you should select. The answer is- it’s all your choice. However, what differentiates artists and laypeople is their perception of colors. Some colors form a brilliant contrast or synchrony when put together. But the greed to be diverse and include every color from the palette might cause a disaster. Using all colours at once can cause the painting to become muddy.

A specific character of pour painting is that despite patterns that cover the whole canvas, colors and the way they play on the canvas stand out. The combination should be aesthetically pleasing. The colour wheel and basic colour theory is how artists choose their hues for pour painting. The way is simple- if you want to derive your colours from the same color palette, choose colors that are immediately next to your chosen hue. For contrast, choose a light colour and a dark one. Popular pairings are black and white, purple and yellow, red and green. You can also experiment with cool palettes and warm palettes.
Viscosity
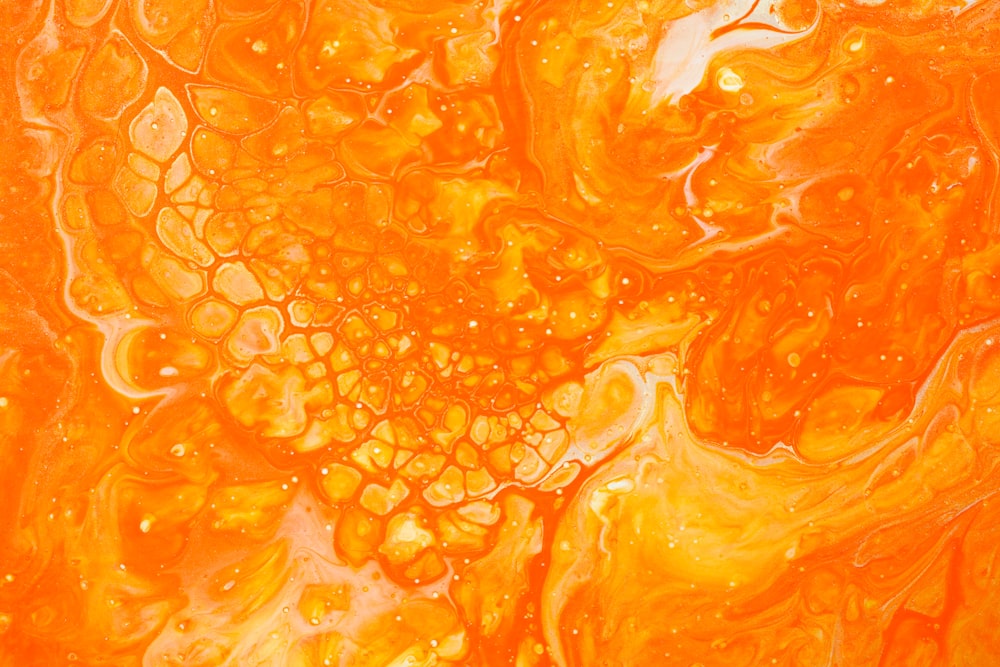
Viscosity refers to the resistance of a fluid to change shape. However, easier for you to remember will be the concept of thickness. Viscous paints determine the texture of paintings. And to achieve it, you may use various mediums with paint. Water, oil, silicone, heat, linseed oil, or turpentine- each medium will cause a different level of consistency and thickness of paints.
While you may think that this is something that is out of your control, you can use viscosity to your advantage. As with art, you may have accidents- but, it is up to you to turn it into a happy one. Lay your paints deliberately. Think about why you’re laying the paint at a particular point- and why one layer is on the top of the other. To observe viscosity in action, make it a point to watch the video below!
Pour painting is akin to meditation- in fact, it can become a whole philosophical experience where you try to uncover and discover reasons behind your motives to make something like that. Observe the thickness of the paints you’re using- you observe that not all paints have the same viscosity. This is because different pigments react differently when they are mixed with a pouring medium or chemical. If you’re clueless about what’s a pouring medium- skip to the section below where we explain what will you need for making fluid paintings. This magic art supply will affect viscosity- it all depends on the ratio of the medium to the paint.
Fluid Art Supplies
One needs a canvas- it’s totally up to you if you favor rectangles, square boards, or something unconventional like round or triangular canvases. Make sure you have the right supplies before going into acrylic pour painting.
Apart from canvas, the magic (and the main) art supply which goes into making Fluid Art is- Fluid Acrylics! However, some artists may prefer to make fluid paints at home with basic acrylics. We tell you to go for it, but don’t forget that acrylics for this art form are readily available. You can also buy Camlin’s Pour Painting Kits over here!

It is the consistency of these paints which makes them easy for artists to manipulate on the canvas. We are looking at a thin, smooth, and flowing consistency- but tilt too much towards the thin liquid side and the magic goes kaput. Usually, fluid acrylics do not need to be thinned, but you can still adjust them with water.
Thirdly, you’ll need something to pour paints with. A disposable thermocol cup or paper cup will be okay for this. Don’t pour the paints from the bottle directly, you might go overboard with it!
The History of Fluid Art
Fluid Art or pour painting as it is popularly known, was a technique discovered by the Mexican muralist David Alfredo Siqueiros. We say discovered because as opposed to a meticulous and deliberate effort, Fluid Art was Siqueiros’ personal happy accident on canvas. Thank goodness for his artistic spirit that spilled paint did not become spilled milk. The complex, fluid patterns the paint had created on the canvas mesmerized Sequeiros. And soon enough, out was he trying to decode the science behind the easy-to-make marbled masterpiece.
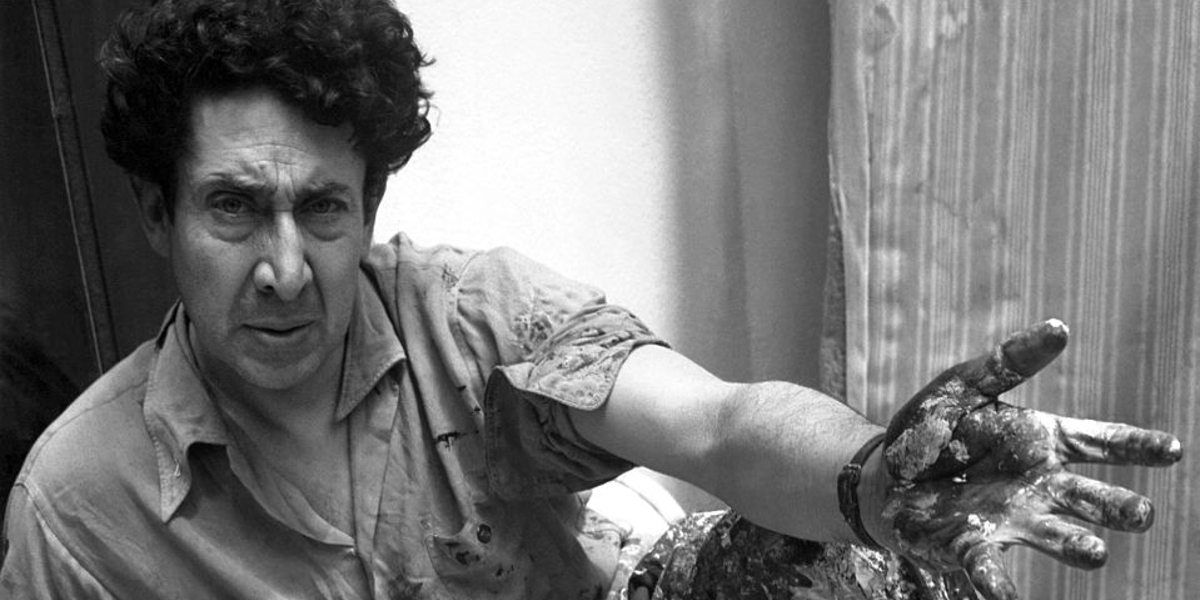
Though our resident art genius (and communist legend) Siqueiros referred to pour painting as accidental painting, later on, it became a deliberate moniker. And we understand why- sometimes, deliberate strokes do not near the exotic beauty of happy accidents. The blend of colors looked like something psychedelic to art enthusiasts. This is how observation and dissection birthed deliberate Fluid Art.
So entranced was Sequeiros with this art form that not only did he write an expressive letter to his lady-love about his discovery, he visited scientists to understand the dynamics behind fluid art. Much later, art historian Sandra Zetina found the answer to the enigma of those hypnotic swirls and the startling color effect. Watch this wonderful process video behind a fluid art piece by Whimsy Creek Art and delve into the history of fluid art!
The Science Behind Fluid Art
Zetina’s own attempts and inquisitiveness brought her to Roberto Zenit, a professor at NAU, Mexico. Both enthusiasts, intrigued by the dynamics of such patterns sought history, science, and Jackson Pollock– Sequeiros’ student who invented the dripping technique of painting.
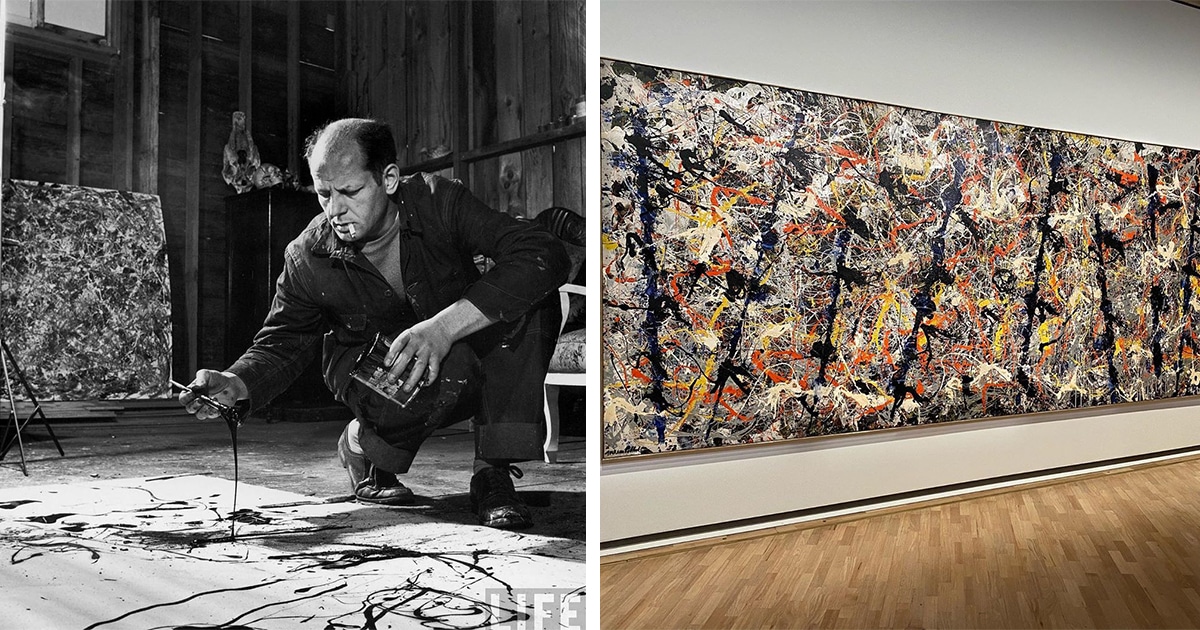
Zenit loosely translated an old letter of Sequeiros which elaborated the technique of fluid painting and followed those vague instructions. Later, Zenit and Zetina experimented with fluids of various viscosities and densities in the former’s laboratory. Initially, only black and white colors were used to understand the concept of fluid dynamics which plays a significant part in pour painting. In case, you are new to Fluid Dynamics- check this beginner-level article to understand more about it.
The key players in creating fluid art are gravity and the Rayleigh-Taylor instability phenomenon. Patterns in fluid art occur because of the conflict between paints of different densities. When a heavier or denser liquid lies upon a lighter or less dense liquid, the former moves downwards because of gravity, creating a beautiful pattern in its wake.
FAQs related to Fluid Art Paintings
Is there a specific canvas size and shape for fluid art?
We recommend you use a decent canvas beginning from 8×8 inches or 6×10 inches. There is no specific canvas size, but if you’re a beginner, begin from a smaller one as paints are harder to manipulate on a large canvas for novices. As for shape, there are no restrictions.
Are ready-to-use fluid acrylic paints available or do we always need to make them from scratch?
Yes, ready-to-use fluid paints are available in the market. You do not need to mix them with the medium if you are using them. If you prefer making fluid paints with regular acrylics and pouring medium- then go right ahead. However, be cautious about the ratio- a rule of thumb is to use 1 part paint with 3 parts of the medium. For more information on refining your ratio- refer to this guide.
Are Floetrol and Silicone Oil necessary to use in pour painting?
No. However, if you would like to move towards more refined techniques like making cells- you can use them. But maintain caution- excess of these chemicals might play havoc with the pigments and distort them. To maintain vivid colors, do not use more than a few drops of silicone or floetrol.
Can we reuse a fluid art canvas?
Yes. You can reuse the old canvas. Put a layer of white primer or gesso on the canvas and let it dry. After that, you’re ready with a fresh canvas to make a new pattern.
What do we do with the excess paint?
We recommend you use the excess paint for a new fluid art piece. Don’t waste them. While making fluid art, collect the excess paint in a small container as you let it drip from the canvas edges. Afterward, use the excess paint on a new canvas or paper.
Are fluid acrylics washable? How to clean them if I spill some on my skin?
Yes, acrylics are washable with water and soap. However, be cautious that you wash your skin gently if you’re smeared in paint. Use a mild soap to clean yourself. You can also use oil to get rid of paint on your skin.
What are the precautions I should take while pour painting?
As discussed before, pour painting can be messy. Cover your workstation with a newspaper. Wear an apron over your clothes and for added measure, wear gloves if you’re using harsh chemicals like pouring medium, silicone, or floetrol. Make sure the pigments and chemicals do not contact your face, eyes, or any sensitive areas. In case they do, seek proper medical attention and wash those off with lots of water.
Can I use the flame from the blowtorch directly on the canvas?
When we use torches on paintings, we seek to remove the surface tension of the paints on the canvas to create patterns. Use short applications of the flame on the canvas, but do not use it for long durations. Don’t use a blowtorch with flammable substances. Make sure you keep others away from the torch and do not leave the flame on for too long.
Can pour painting work on fabrics?
Yes, it can but not the same as it does on canvas. Acrylics make fabrics stiff when they harden. If you want to do pour painting on fabrics, then use acrylic fabric paints and a fabric medium to keep things pliable whenever you’re doing pour painting on fabric. Test the fabric first by pouring it on a rag or on a small patch. Refer to this guide on fabric pouring for more information.
Final Thoughts
Therefore, patience and practice is the key to acrylic pouring like any other art form. Our team believes that with this know-it-all guide, you can embark upon this captivating journey of creativity.
We understand your needs in all things related to art, hence; we invite you to join Podium Prime where we offer premium workshops and courses on origami, calligraphy, and more. At Podium School, we believe in nurturing the artist within you and would love to offer you such tidbits so that you and we could learn together.
Discover Podium Blog for more articles on art, personality development, creative writing, and more!

